
Want your car to shine like it just rolled out of the showroom? The secret isn’t a magic spray or a special wax. It’s all about how you prepare the surface. A ceramic coating can give your car a deep, glossy finish and long-lasting protection, but its success depends entirely on what you do beforehand. Think of it like painting a wall; if you don’t clean and smooth the wall first, the paint won’t stick right and will look sloppy.
In this guide, we’ll walk you through exactly how to prepare a car for ceramic coating, step by step, so you can achieve a flawless, durable finish that lasts for years.
Why Proper Prep Is Important Before Ceramic Coating
Imagine you want to paint a wall. If you paint over a dirty, bumpy fence, the new paint will look bad and start to peel. The same principle applies to your car. A ceramic coating is like a super-strong, clear coat of paint. For it to stick perfectly and last for years, the surface underneath has to be flawless.
If you skip the prep stage, you’re trapping dirt, tiny scratches, and old wax under the new coating. This can make the coating fail sooner, look cloudy, or show a lot of swirl marks you didn’t even see before. A clean, smooth surface helps the coating bond deeply, giving you that exceptional, mirror-like shine and protection for years.
Understanding Ceramic Coating Before You Start
What even is a ceramic coating? Simply put, it’s a liquid polymer that goes on your car’s paint. When it cures, it becomes a hard, protective layer that repels dirt, water, and UV rays. It’s not a wax or a sealant; it’s much stronger and lasts a lot longer.
This coating bonds to your car’s paint on a microscopic level. It fills in the tiny dips and peaks on the surface, creating a smooth shield. That’s why the prep work is so important; it gets rid of anything that could get in the way of that bond.
You can do this yourself (a DIY ceramic coating), or you can hire a professional. DIY can save you money, but it takes time and considerable effort. A professional will have all the right tools and experience, but it costs more. It all depends on your budget and how comfortable you are doing detailed work on your car.
What are the steps to prepare a car for ceramic coating
Here’s precisely how to prepare a vehicle for ceramic coating to achieve the best results.
Step 1 – Thorough Car Wash
First, you need to get the car as clean as possible. Don’t use dish soap; it’s too harsh and can strip your paint. Use a good, pH-balanced car wash soap. This kind of soap is gentle on your paint and removes loose dirt without leaving swirl marks. Use the two-bucket method: one bucket for soapy water and one for clean rinse water to keep your wash mitt clean.
Step 2 – Remove Iron Particles and Contaminants
Even after a good wash, your car has tiny, almost invisible bits of metal and other gunk stuck to the paint from things like brake dust and road grime. These are called embedded contaminants. You can remove them with an iron remover spray and a clay bar. The iron remover dissolves the metal particles, and the clay bar pulls out all the other stuff, leaving the surface incredibly smooth.
Step 3 – Paint Correction & Polishing
This step is a game-changer, and honestly, many people skip it. But you shouldn’t! If your paint has any light scratches or swirl marks from washing, you need to polish the car before applying the ceramic coating. Polishing buffs out these imperfections, making the paint perfectly smooth and shiny. This is the step that gives you that deep, wet-looking gloss.
Step 4 – Degrease the Surface
After polishing, there are still oils and residues left on the paint. You need to wipe them all away so the coating can stick directly to the clean paint. Use a degreaser or a special ceramic coating prep spray (also called an IPA wipe-down). This will make the surface squeaky clean and ready for the final step.
Step 5 – Applying Ceramic Coating
Now for the fun part! Make sure you’re in a clean, dust-free place like your garage. Apply the coating in small, thin layers, working on one small section at a time. Using too much at once can make it hard to get an even coat. Follow the instructions that came with your specific ceramic coating.
Pro Tips for Best Results at Home
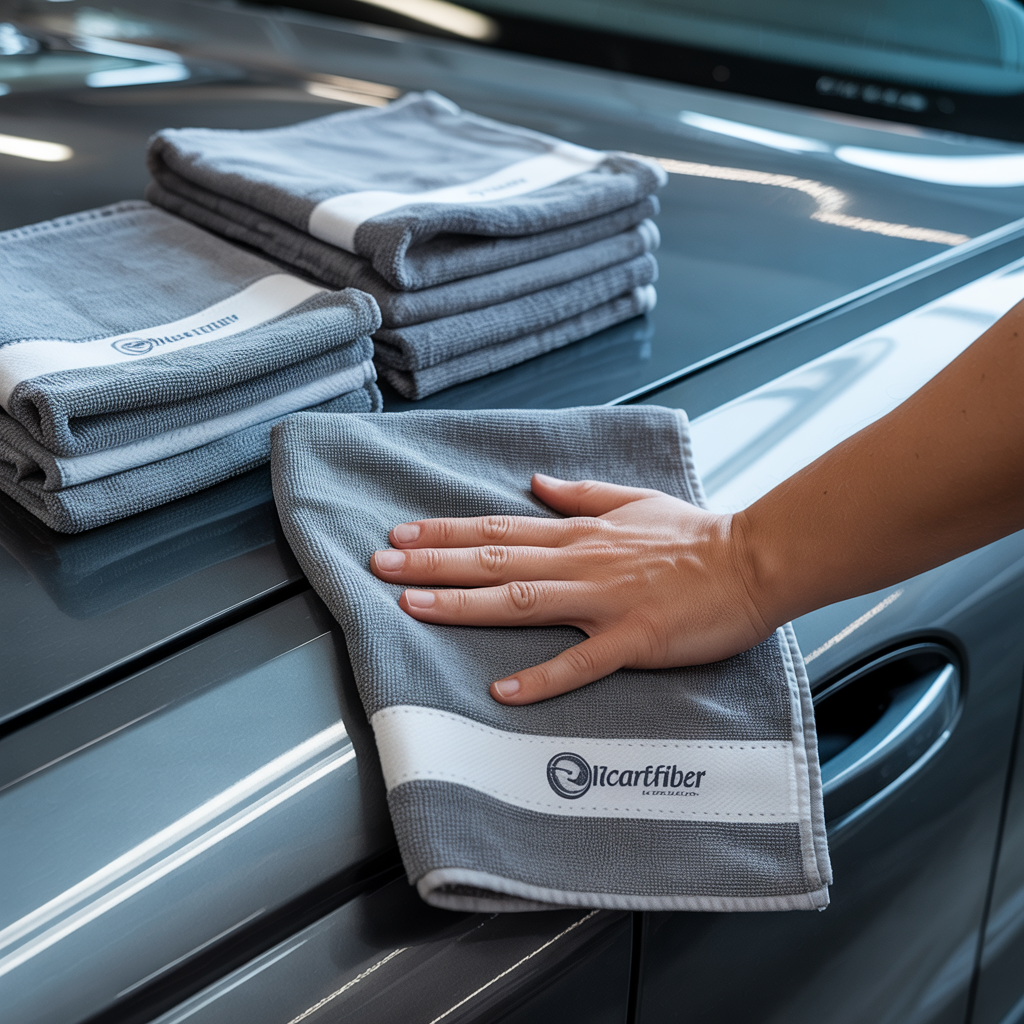
- Using microfiber cloths correctly. Always use a clean, soft microfiber cloth. Fold it into a square. This gives you eight fresh sides to use. When a side gets dirty, flip to a new one. This keeps you from rubbing dirt back onto the car.
- Working panel by panel: Don’t try to do the whole car at once. Focus on one small section, like a door or a fender, before moving to the next. This gives you time to do a good job without the coating drying too fast.
- Maintaining a dust-free workspace: A dusty garage is the enemy. Before you start, sweep the floor and let the dust settle. This keeps it from settling on your clean car just before you apply the coating.
Cost of Prepping Your Car for Ceramic Coating
The cost can be very different depending on whether you do it yourself or hire a pro.
- DIY Prep Cost: If you do it yourself, you might spend $50 to $200 on products like a clay bar, iron remover, polish, and microfiber towels. The most considerable cost here is your time.
- Professional Prep Cost: A professional detailer will often charge $300 to $800 or more just for the prep work alone. This includes a complete wash, clay bar treatment, and paint correction with a machine polisher. It’s more expensive, but they have the tools and skills to do a perfect job.
- When to pay for a professional: If your car has a lot of scratches or you don’t feel comfortable using a machine polisher, it’s worth it to pay a pro. A good detailer can make a 10-year-old car look brand new before the coating even goes on.
Recommended Products for Car Prep
- Ceramic Coating Prep Sprays: A good prep spray is a must. They quickly remove any leftover oils. Look for products like CarPro Eraser or Gyeon Prep.
- Best Car Surface Prep Tools & Kits: A basic kit should have a clay bar, a bottle of clay lubricant, and a few good microfiber towels. For polishing, you’ll need a dual-action polisher and some polishing pads.
Finding the Right Ceramic Coating Professional
If you choose to hire someone, don’t just pick the cheapest option.
- Questions to ask: Ask them about their process. Do they do paint correction before coating? What products do they use? How long will it take?
- How to check their work: Look at their social media or website for photos of their work. A good detailer will show “before and after” pictures that highlight the difference their prep work makes.
Real-Life Testimonial: How Prep Made a Difference
I once had a friend who wanted to coat his car. He was in a hurry and only washed it before applying the coating. It looked good for about six months, but then it started looking dull. The coating was failing because it wasn’t bonded correctly.
Later, he got a new car and decided to do the prep work right. He spent a whole weekend polishing and prepping the vehicle. This time, the coating lasted over two years and looked amazing the entire time. The prep work made all the difference in how long the coating lasted and its appearance.
Common Mistakes to Avoid When Prepping for Ceramic Coating
- Applying the coating without paint correction: This is probably the biggest mistake. If you use the coating over scratches, those scratches will be sealed in and super visible.
- Skipping the degreasing step: This is a recipe for a coating that doesn’t stick well and fails quickly.
- Working in direct sunlight or extreme temperatures: The coating will dry too fast, making it hard to apply evenly.
Final Verdict: The Secret to a Perfect Ceramic Coating
Ultimately, the key to a successful ceramic coating isn’t just the product you choose; it’s all about the prep work. As you’ve seen, spending the time to thoroughly clean, decontaminate, and correct your car’s paint is non-negotiable.
Doing the prep right ensures your coating bonds perfectly and gives you that exceptional, long-lasting shine and protection. Whether you decide to tackle the DIY ceramic coating prep yourself or hire a professional, don’t skip these steps. Following this guide on how to prepare a car for ceramic coating will make a massive difference in the final result.
FAQ about how to prepare a car for ceramic coating
Can I ceramic coat my car without polishing?
You can, but it’s not a good idea. You’ll be sealing in any swirls or scratches, and the result won’t look nearly as good.
How long does car prep take?
For a first-timer doing it right, it can take 4-8 hours or even a whole weekend, depending on the car’s condition. Don’t rush it!
Do I need to remove old wax before coating?
Yes! A good prep wash and degreaser will take care of this. The ceramic coating won’t stick to old wax.
Can I do ceramic coating prep in my garage?
Absolutely. A garage is a great place because it’s out of the sun and protected from dust and bugs.
I hope this guide helps you get started on your ceramic coating journey. Doing the prep work is a lot of effort, but I promise the results are worth it. Your car will look amazing and be so much easier to keep clean.
Give it a try this weekend, and if you have any questions, drop them in the comments below!