
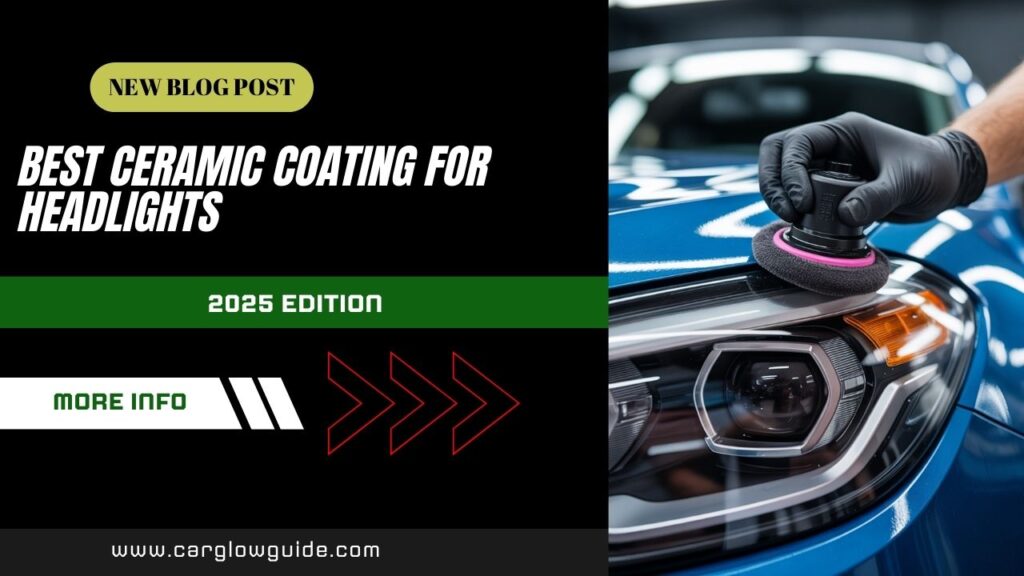
You know that moment you see an older car with hazy, yellowed headlights? It just makes the whole vehicle look tired and worn out. That cloudiness isn’t just unattractive, it also makes your lights dimmer and driving at night more challenging. Luckily, there’s a simple, long-lasting fix for this problem: the best ceramic coating for headlights. It’s a transparent, protective layer that keeps your lights looking brand new for years to come.
In this guide, we’ll get into what ceramic coating for car headlights is all about, why it works so well, and whether you can do it yourself or if it’s better to hire a professional. By the end, you’ll know exactly how to keep your car’s eyes bright and clear.
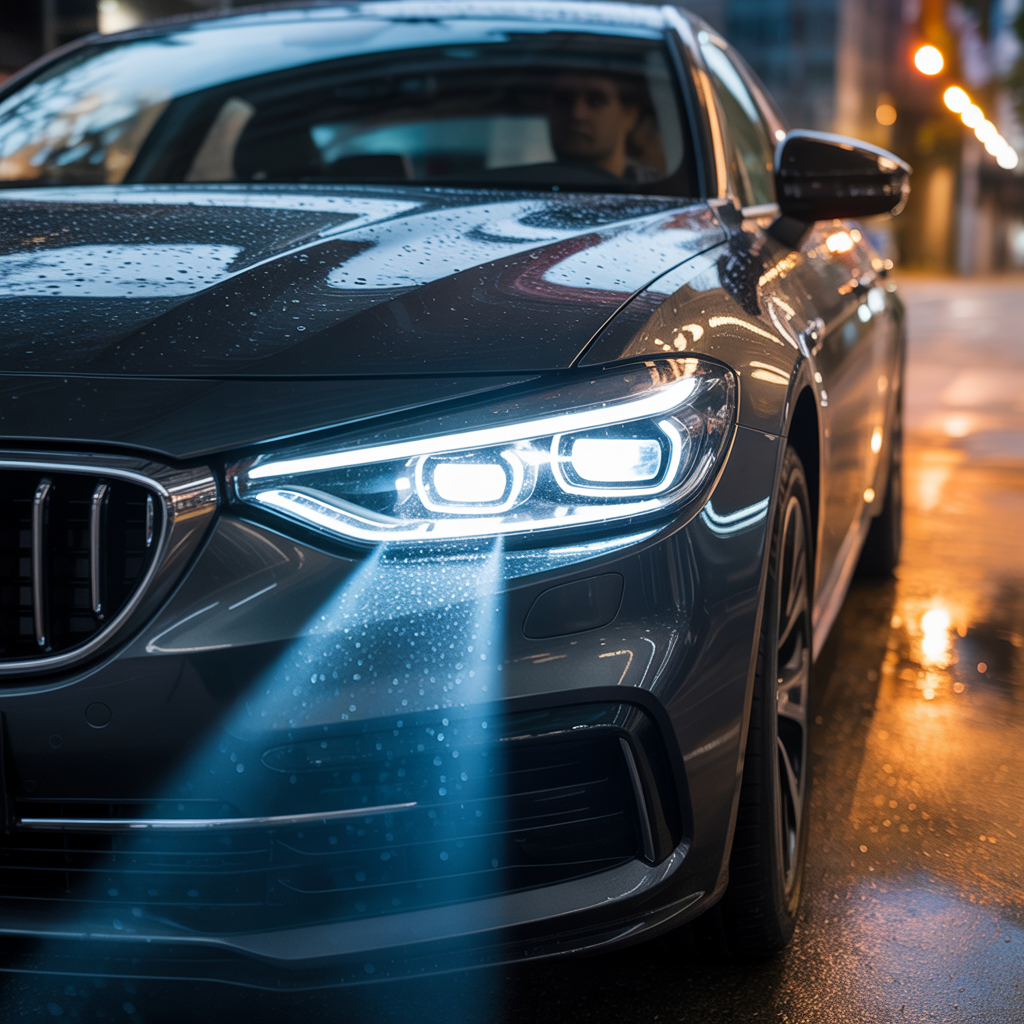
What Is Ceramic Coating for Headlights?
Think of ceramic coating for headlights as a super-thin, liquid shield for your car’s eyes. It’s made of something called nano-ceramics, which are tiny particles that create a powerful, clear layer. When you put it on your headlights, it doesn’t just sit on top like a sticker. It actually bonds with the plastic or glass, becoming a part of the surface itself. This makes the protection last a really long time.
This is very different from something like car wax. Wax just sits on top and wears off quickly, especially with sun and rain. A ceramic clear coat for headlights is a permanent shield that won’t wash away.
Why Choose Best Ceramic Coating for Headlights?
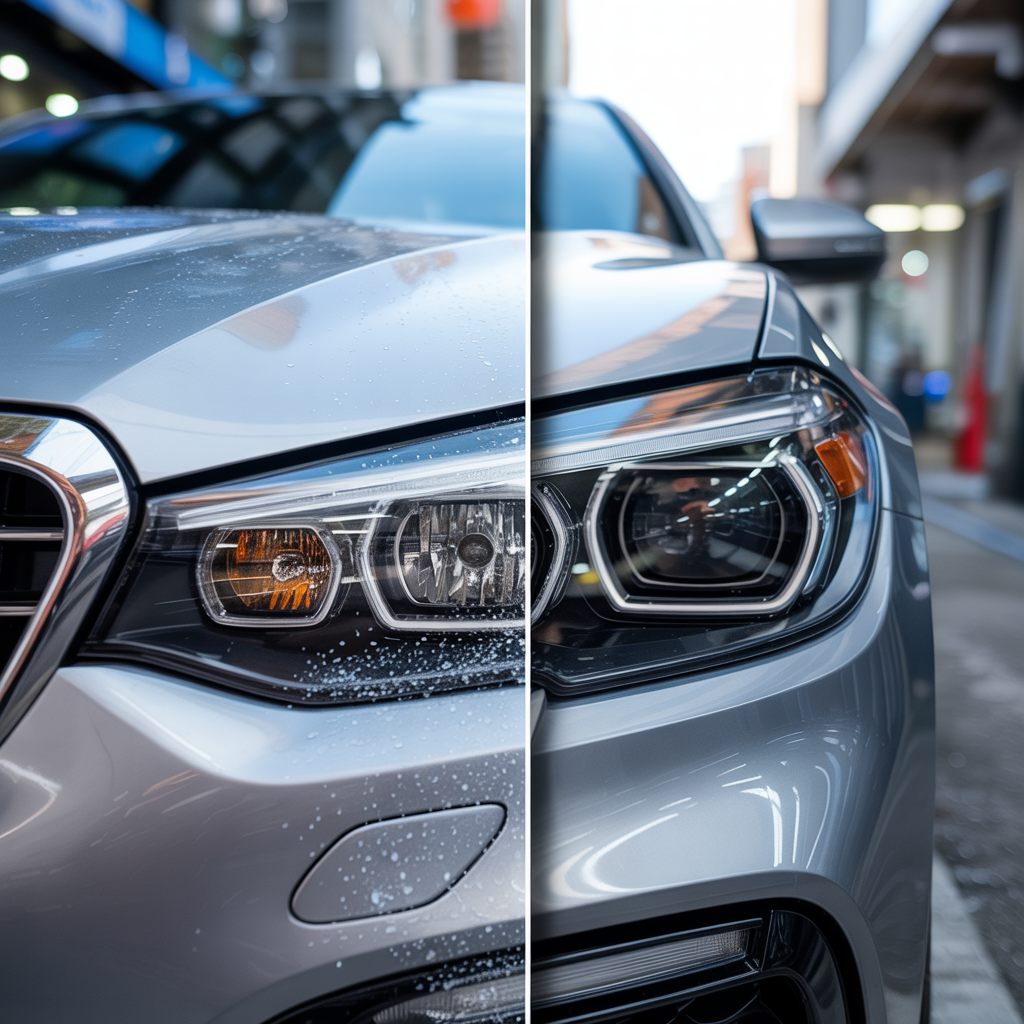
Your car’s headlights have a tough life. The sun’s UV rays, tiny rocks, and harsh weather all want to mess them up. After a while, the plastic on your headlights starts to break down, which is what causes that ugly yellow color and fogginess.
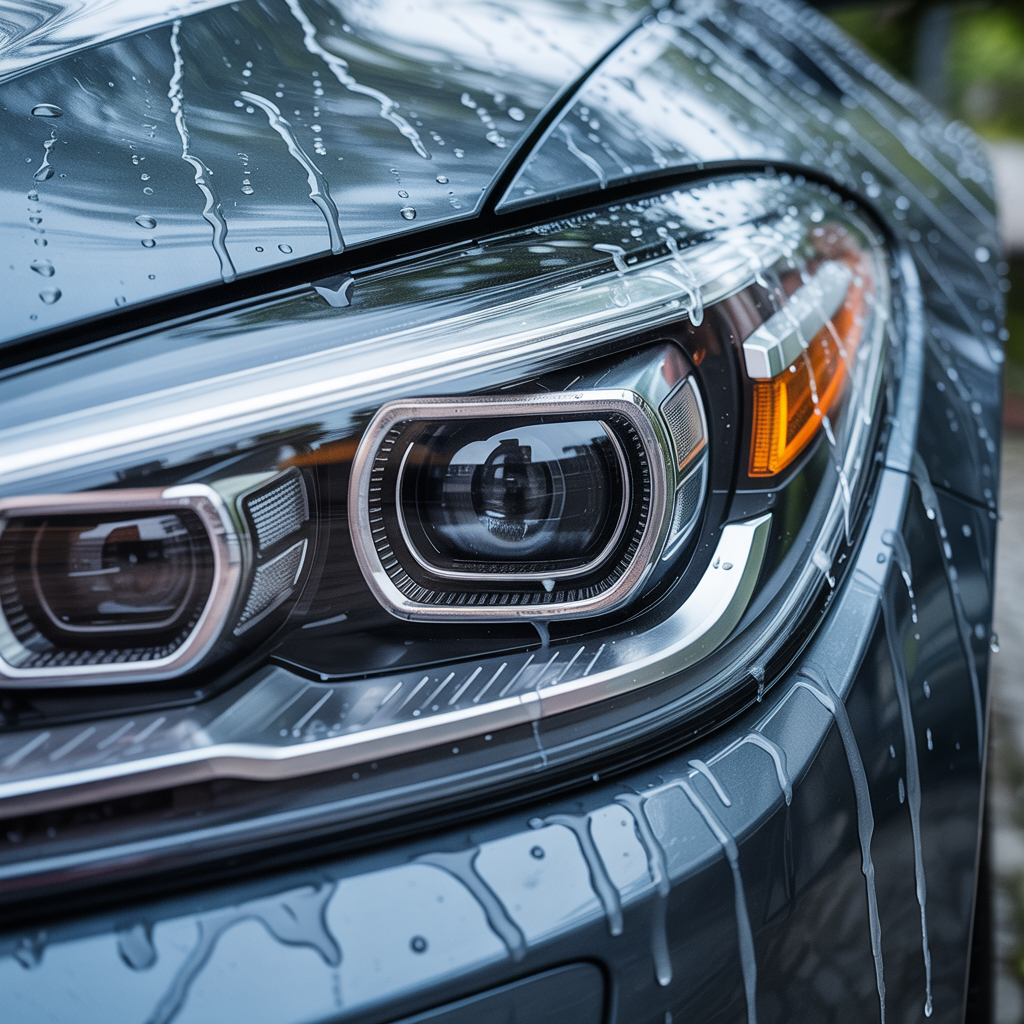
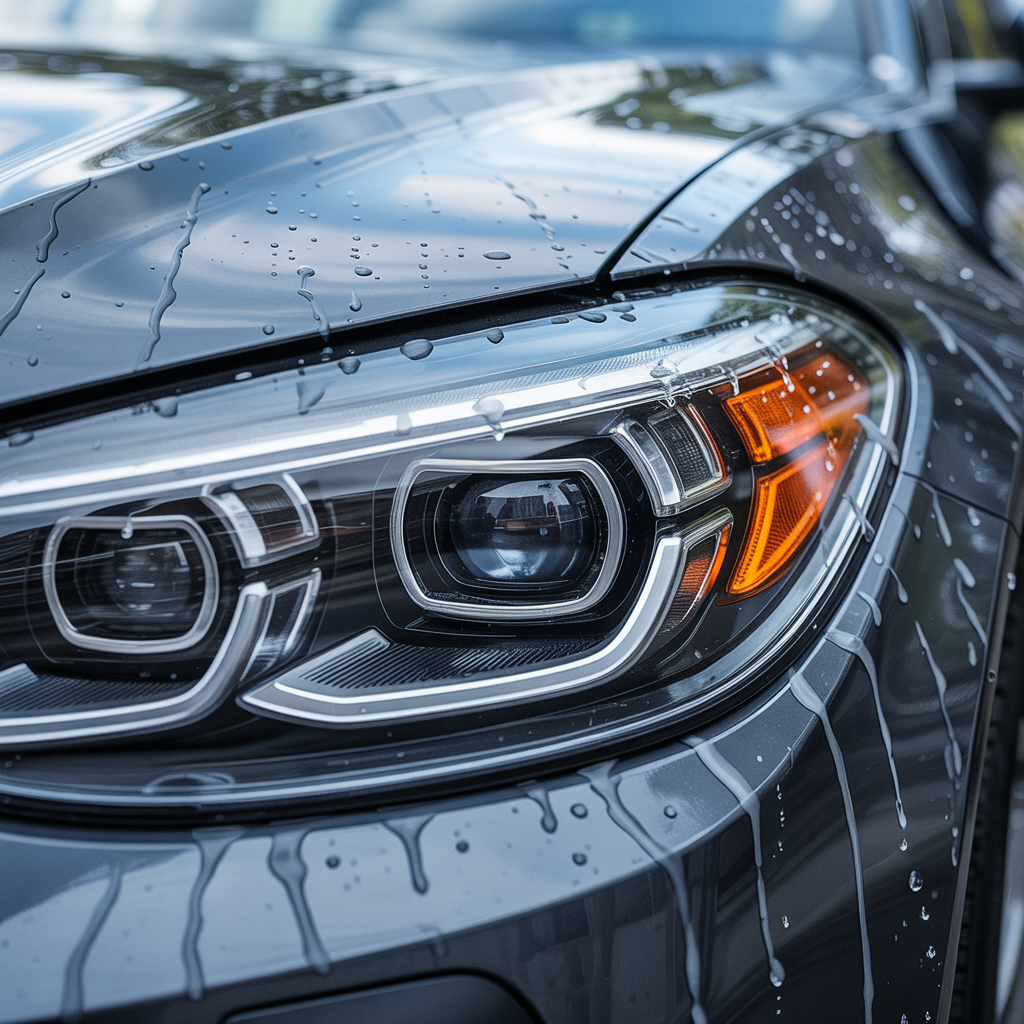
Ceramic coating stops this from happening. It’s like a sunscreen for your headlights, blocking those damaging UV rays. Plus, it makes them more resistant to light scratches from dust and road grit. It also gives your headlights a “hydrophobic” effect—that’s a fancy word for saying water and dirt just bead up and roll right off. So, no more foggy, dirty headlights.
Benefits of Ceramic Coating for Headlights
Let’s break down why this stuff is so good.
- No More Discoloration: That yellow, foggy look is gone for good. The coating keeps your headlights clear and bright.
- Scratch Resistance: While it can’t stop a big rock, a good ceramic coating for headlights helps protect against minor scratches that happen from everyday driving and washing.
- Water Beading Effect: This is a cool one. When it rains, you’ll see water just roll off your headlights. This makes them easier to clean and keeps them clear when you’re driving in bad weather.
- It Lasts: Unlike wax or sealants that you have to put on every few months, a quality 9H ceramic coating for headlights can last for years. This saves you a lot of time and work in the long run.
Choosing the Right Ceramic Coating for Headlights
Okay, so you’re sold on the idea. Now what? You have a few choices:
- Sprays: These are the easiest and quickest to use, but they don’t last as long.
- DIY Kits: These come with everything you need and give better protection than a spray. They take more time and care to apply.
- Professional-Grade Products: These are the best for long-lasting results. They are harder to use, which is why professionals usually apply them.
When you’re shopping, look for products from a trusted brand. Read reviews and make sure it’s known for being durable and easy to use. For a serious, long-lasting product, you might want to look into something like an Autobahn ceramic auto coating for headlights.
DIY vs. Professional Ceramic Coating for Headlights
This is a big question. “Can I do it myself or should I pay a pro?”
The short answer is: you can definitely do it yourself with a good ceramic coating kit for headlights, but it’s not a quick job. Think of it this way:
- DIY: It’s a lot cheaper to buy a kit, and you get the satisfaction of doing the work. But it takes time and careful prep to get it right. If you rush, you might not get the best result.
- Professional: It costs more, but they have the special tools and experience to get a perfect, long-lasting finish. They do the hard work for you, and it’s usually done much faster.
No matter which way you go, the process is pretty similar. For our ceramic coating process for headlights, it always goes like this: prep, application, and then letting it cure. You can’t skip any steps!
Step-by-Step Guide: How to Apply Ceramic Coating on Headlights at Home
So, you’ve decided to tackle it yourself. Good for you! Here’s a simple breakdown of the steps. The most important part is the prep work. Honestly, I’ve seen so many people mess this up and wonder why the coating didn’t stick.
- Clean Headlights: First, you have to get the headlights super clean. Car detailers use special soaps and cleaners to get all the dirt, wax, and old gunk off. You want them to be spotless.
- Restore if Needed: If your headlights are already yellow or foggy, you need to fix that first. You’ll need to use a restoration kit to remove the oxidation. The ceramic coating won’t clear up the haze—it just protects the surface you put it on.
- Apply the Coating: Once the headlights are clean and clear, it’s time to apply the coating. Follow the directions on your kit. Usually, you’ll use a small applicator pad and wipe the product on in an even layer.
- Cure Properly: This is a key step! The coating needs time to harden. Read the instructions on the box. It might say to leave it for an hour or maybe even a full day. Don’t get your car wet during this time.
- Inspect and Finish: After it’s cured, take a close look at your work. Your headlights should be crystal clear and ready to go.
Maintenance Tips for Ceramic-Coated Headlights
Good news! Once your headlights have a ceramic coating, they are much easier to take care of.
- Gentle Cleaning: When you wash your car, use a mild, pH-neutral car soap. Use a soft microfiber cloth. Stay away from strong cleaners or abrasive pads.
- Don’t Re-coat too Soon: A quality ceramic coating lasts for a long time. You don’t need to reapply it for years. If you notice it’s not beading water as well, it might be time for a fresh coat.
- Avoid Harsh Chemicals: Things like bug remover or strong car wash detergents can weaken the coating. Try to stick to safe cleaning products.
Ceramic Coating vs. Alternatives for Headlights
| Feature/Benefit | Ceramic Coating | Wax | Headlight PPF (Paint Protection Film) |
| Durability | Lasts 1–5 years | Lasts only a few weeks | Lasts 5–10 years |
| UV Protection | ✅ Strong protection | ❌ Minimal | ✅ Excellent |
| Scratch Resistance | ✅ Resists light scratches | ❌ Very low | ✅ Protects against heavy chips & scratches |
| Ease of Application | ✅ Easy DIY or pro | ✅ Very easy DIY | ❌ Difficult, usually needs professional |
| Cost | 💲💲 Moderate investment | 💲 Very cheap | 💲💲💲 Expensive |
| Finish/Appearance | Glossy, long-lasting clarity | Shiny but temporary | Clear, protective film (may show edges) |
| Best For | Everyday drivers wanting long-term clarity & UV protection | Quick shine on a budget | Drivers needing maximum chip protection |
If you want affordable, long-term protection against yellowing and scratches, ceramic coating is the best choice. For budget-friendly short-term shine, go with wax. If your roads are full of debris and rock chips, PPF is the heavy-duty option.
Cost of Ceramic Coating for Headlights
The price can change a lot depending on what you choose.
- DIY Kits: You can find a decent ceramic coating kit for headlights for about $20 to $50. But remember, you might also need other tools, like sandpaper or polish, which can add to the cost.
- Professional Service: A professional will charge more, $75 to $200 or more, especially if your headlights are very faded and need a lot of work first.
Think about the long-term value. Paying a bit more for a professional to get it perfect the first time can save you money and headaches down the road.
FAQs About the Best Ceramic Coating for Headlights
1. Can you put ceramic coating on headlights?
Yes, you can apply ceramic coating on headlights. It works on both glass and plastic surfaces, creating a protective layer that repels dirt, water, and UV damage, keeping your headlights clear and shiny for an extended period.
2. How long does ceramic coating last?
Ceramic coatings typically last between 1 to 5 years, depending on the product quality, surface preparation, and maintenance. High-quality professional coatings can even last longer when properly maintained.
3. Is ceramic coating safe for plastic headlights?
Absolutely. Modern ceramic coatings are designed to be safe on plastic surfaces, including headlights. They help prevent yellowing, hazing, and minor scratches while maintaining the plastic’s clarity.
4. Does it really prevent scratches?
Ceramic coating provides a hard protective layer that reduces light scratches and swirl marks caused by washing or minor impacts. However, it cannot fully protect against deep scratches from accidents or debris.
5. Can ceramic coating replace headlight restoration?
No, ceramic coating does not replace headlight restoration. Restoration is required if headlights are already yellowed, hazy, or oxidized. Once restored, applying ceramic coating can maintain clarity and prevent future damage.
6. Why Choose Dreamy’s Mobile Detailing?
Dreamy’s Mobile Detailing stands out with:
- Unique Process: On-site detailing with precision and care.
- High-Quality Products: Using professional-grade ceramic coatings and cleaning agents.
- Customer Satisfaction: Thousands of happy clients and verified reviews.
- Convenience: We come to you, saving time while delivering a showroom-quality finish.
Final Verdict
So, what’s the final word on ceramic coating for headlights? Honestly, it’s one of the best ways to protect your car and keep it looking good for years. It’s a simple, smart way to save time and money in the long run.
Here’s the simple truth:
- It stops yellowing and fogginess before it even starts.
- It makes your lights easier to clean and helps them stay clear.
- It protects against everyday scratches and wear.
Should you do it yourself or hire a professional? If you like doing things yourself and have the time to follow the steps carefully, a good DIY kit can give you great results. But if you want the best possible protection with the least amount of hassle, paying a pro is worth it.
Hope this guide cleared things up for you. Got a question? Just drop it in the comments. We’re here to help!