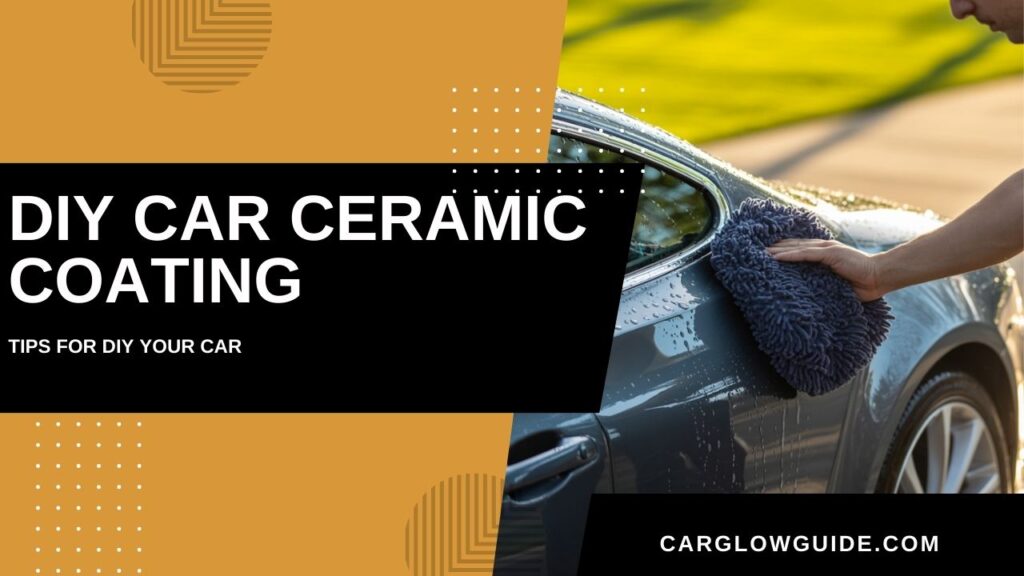
You know that feeling when your car is freshly washed? The paint looks deep and shiny, and you can practically see your reflection. Using the best DIY car ceramic coating can make that feeling last for years. It’s a liquid polymer you apply to your car’s paint, creating a tough, transparent layer of protection. Think of it as a super-strong, invisible shield against dirt, water, and sun.
💡 Pro Tip: Before starting, check How to Prepare a Car for Ceramic Coating to ensure your paint is perfectly ready.
What is DIY Ceramic Coating?
Imagine putting a thin, hard layer of glass on top of your car’s paint. That’s pretty much what a ceramic coating does. It’s not a wax or a sealant that sits on the surface for a few weeks. It’s a semi-permanent layer that bonds with the paint itself.
This coating has some excellent benefits:
- Keeps your car cleaner: It’s super slick, so dirt, dust, and grime have a hard time sticking to it.
- Makes washing easy: Water beads right off, so rinsing is a breeze.
- Protects from the sun: It helps stop the sun’s UV rays from fading your car’s paint over time.
- Gives a great shine: The coating makes your paint look deeper and glossier than ever before.
But let’s be real. There’s a significant difference between a DIY kit you can purchase online and a professional job that costs thousands of dollars. A skilled detailer possesses specialized tools and years of experience. For us at home, a DIY kit is a great way to get a lot of the same benefits for a much lower cost. It just takes a little time and care.
Understanding DIY Ceramic Coating Kits
When you purchase a DIY car ceramic coating kit, you’ll typically find several items inside. There’s the coating itself, of course, which often comes in a small bottle. You’ll also receive some special sponges or pads for applying it, as well as possibly some microfiber towels for wiping it off.
Choosing a kit isn’t too hard. Look for a kit that has good reviews and clear instructions. If you have a brand-new car, you’re in luck! The paint is already in excellent condition, so your job will be much easier. For older cars, you’ll need to do a bit more preparation work to achieve the best results.
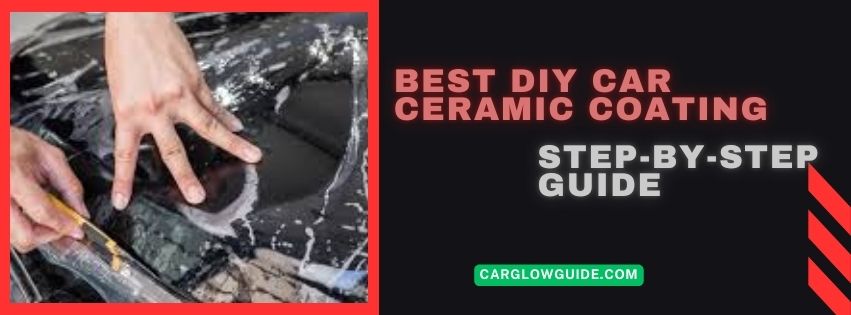
The Application Process: A Step-by-Step Guide
This is the most crucial part. I can’t stress this enough: the final result is 90% about how well you prepare the car. The coating itself is the easy part.
Preparation: The Most Critical Step
Think of this like painting a wall. If the wall is dirty or bumpy, the paint won’t look good. Your car’s paint is the same.
- Wash and Decontaminate: Give your car a super thorough wash. You want to get rid of all the dirt. Then, use a clay bar or a special product to remove any tiny bits of dirt or grime that are stuck in the paint. This leaves the surface smooth as glass.
- Polish and Correct: If your car has swirl marks or minor scratches, you should address them now. The ceramic coating will lock them in forever, so this is your last chance! Use a polisher to achieve a flawless finish.
- IPA Wipe-down: This is a key step that many people skip. Use a mix of isopropyl alcohol (IPA) and water to wipe down every part of the car you’re going to coat. This removes all the oils from polishing and washing, providing a clean surface for the coating to adhere to.
Step-by-step Application process
This is where the magic happens.
- Put a few drops of the coating on the special pad.
- Work on one small section at a time, like a quarter of your car’s hood.
- Wipe the coating on in a criss-cross pattern. You’ll see a light film on the paint.
- Wait a minute or two, then gently wipe away the extra coating with a clean microfiber towel.
For spray products, it’s even easier. You just spray it on and wipe it off. It’s a great way to get started.
Curing and Maintenance
After you’re done, your car can’t get wet for at least 24 hours. The coating needs time to harden and cure. Park it in the garage or under a cover. After that, your car is ready to go!
To keep your coating working its best, just wash your car regularly with a soap that’s safe for ceramic coatings. Don’t use a harsh detergent.
Common Mistakes to Avoid:
- Applying the coating in direct sunlight.
- Not prepping the paint well enough.
- Using too much coating at once.
Key Questions & Considerations
So, how long does this excellent coating last? It depends on what kit you use and how well you take care of it. A quality mid-level DIY car ceramic coating can last for 2-3 years. Entry-level kits might last about a year. It’s a big step up from wax, which only lasts a few months.
The cost of a good DIY kit can range from $50 to $200. Is it a good investment? Absolutely. If you do it right, you’ll save a ton of time on washing, and your car’s paint will look fantastic for a long time. It’s a no-brainer for me.
Best Products for Car Wheels
Have you ever wondered if ceramic coating is suitable for your car wheels? Yes! It’s a fantastic idea. Wheels get covered in brake dust and road grime, making them a pain to clean. A ceramic coating makes them super slick, so all that gunk rinses right off.
This means you can keep your wheels looking new with minimal effort. Be sure to use a product specifically designed for wheels, as they can withstand higher temperatures.
Real-World Experiences
I’ve seen it go wrong before. My friend rushed the prep, and the coating ended up making his swirl marks more noticeable. But when I helped him do it the right way, he was blown away. His old car looked like it had a brand-new paint job.
The before-and-after photos you see online are real. A well-coated car truly looks different. It’s an extra layer of clarity and shine that you just don’t get with wax.
Final Thoughts About DIY car ceramic coating
A DIY car ceramic coating is a fantastic way to protect your car and keep it looking great. It’s a project that takes a little effort and time, but the payoff is enormous. By taking the time to do it right, you’ll get a long-lasting shine and a car that’s a joy to look at and to clean.
Hope this guide cleared things up for you. Got a question? Just drop it in the comments.
FAQs About DIY Car Ceramic Coating
How long does a DIY ceramic coating last on a car?
Most DIY ceramic coatings last between 1–3 years, depending on product quality, preparation, and maintenance.
Can I apply ceramic coating without professional tools?
Yes, many DIY kits include everything you need, but having microfiber towels, applicator pads, and proper lighting improves results.
Do I need to polish my car before applying ceramic coating?
Yes, polishing helps remove swirl marks and oxidation, ensuring the coating bonds properly for maximum durability.
How long should I wait before washing my car after coating?
Typically, you should wait at least 7 days before washing for the coating to cure fully.
Is DIY ceramic coating as good as professional coating?
DIY coatings can provide excellent results, but professional-grade coatings often last longer and offer stronger protection.